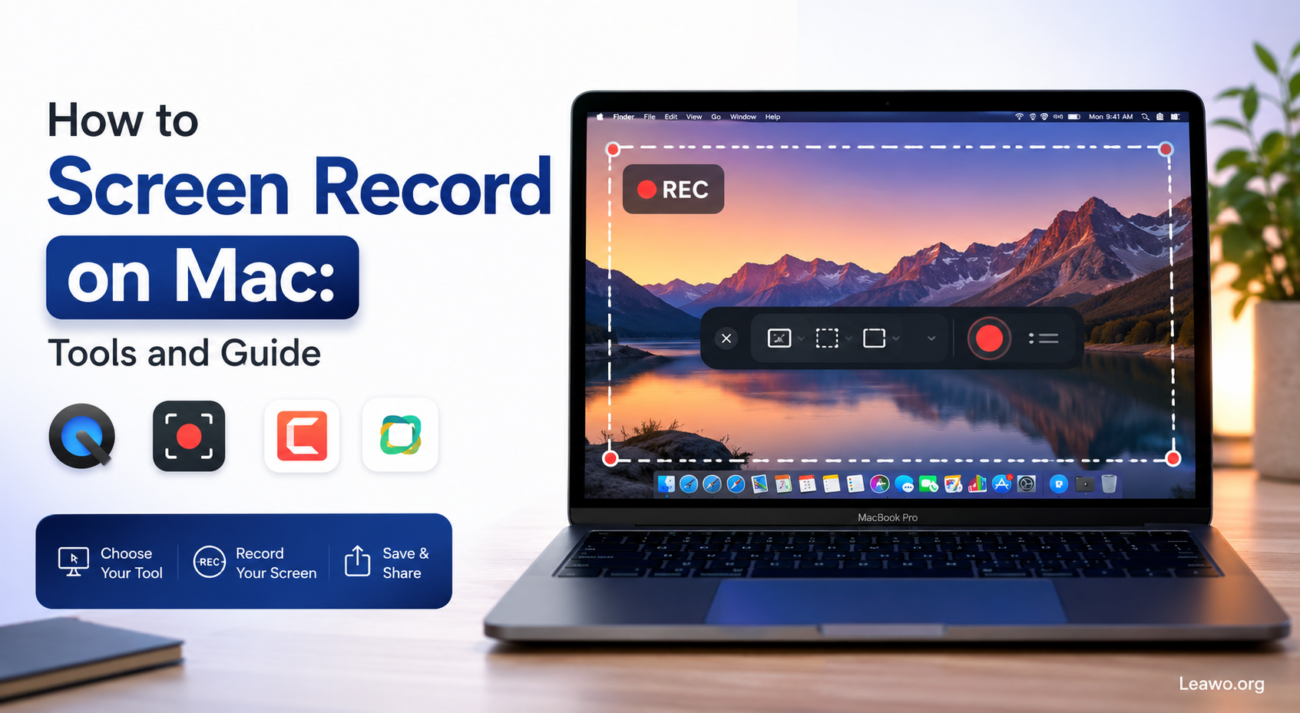
Every Mac comes with built-in tools that make it simple to capture your screen. You don’t need to install anything extra to get started. These tools work well for quick clips, tutorials, or saving a funny moment from a video call.
But if you want more control, third-party apps give you extra features. Think editing, annotations, webcam overlays, and more polish. They’re built for people who record often or want a professional result.
This guide walks through both options. By the end, you’ll know exactly which tool fits your needs, whether you’re a casual user or a content creator.
1. 5 Best Ways to Screen Record on Mac
There’s no single best tool for everyone. Some people just need a fast, no-fuss recording. Others want full control over quality and editing. Here are five solid options, from simple to advanced.
1.1 Screenshot Toolbar (Built-in)
The Screenshot Toolbar is the easiest way to record your screen on a Mac. Press Shift + Command + 5 and a small toolbar pops up. From there, choose to record the full screen or just a portion.
Click record, and you’re done in seconds. Stop the recording from the menu bar, and your video saves straight to your desktop.
The upside is speed and simplicity. There’s nothing to download and no settings to fuss over. The downside is limited control. You won’t find advanced audio options or editing tools here.
This tool is best for everyday users who need a fast recording without extra steps.
1.2 QuickTime Player
QuickTime Player has been part of macOS for years. Open the app, go to File, then New Screen Recording, and press record.
It offers a bit more flexibility than the Screenshot Toolbar, including the option to record with a connected microphone. You can also trim your final clip right inside the app.
Still, QuickTime lacks advanced editing and annotation tools. It’s built for basic capture, not polished production.
Choose QuickTime if you prefer a familiar, built-in app with slightly more control than the toolbar.
1.3 OBS Studio
OBS Studio is a free, open-source app built for recording and live streaming. Set up a scene, choose your sources like screen, webcam, or microphone, and hit start recording.
It supports multiple audio tracks, custom layouts, and high-quality output. This makes it a favorite among streamers and educators.
The trade-off is complexity. OBS has a steeper learning curve than Apple’s built-in tools, and it doesn’t include video editing features.
OBS Studio is best for YouTubers, streamers, teachers, and anyone comfortable with a more technical setup.
1.4 CleanShot X
CleanShot X blends screen recording with screenshot tools and annotation features. Open the app, pick your recording area, and start capturing.
Once you’re done, you can mark up your recording, add highlights, or clean up your desktop before capturing anything sensitive.
It’s a paid app, but it saves time for anyone who creates tutorials or how-to guides regularly.
CleanShot X suits professionals who need clean, annotated recordings for documentation or training material.
1.5 Capto
Capto combines screen recording with a built-in video editor. Record your screen, then trim, add captions, or adjust audio without leaving the app.
It also supports webcam capture, so you can record yourself alongside your screen for tutorials or presentations.
The main strength is having everything in one place. The downside is the price, since it’s a paid application.
Capto works well for users who want recording and editing bundled together, without switching between apps.
2. Feature Comparison: Which Mac Screen Recorder Is Best?
Every recorder has its own strengths, depending on how you plan to use it. The table below breaks down the key features side by side.
| Tool | Free | Built-in | Record Audio | Webcam | Video Editing | Best For |
| Screenshot Toolbar | Yes | Yes | Yes | No | No | Quick, casual recordings |
| QuickTime Player | Yes | Yes | Yes | No | Basic trim only | Familiar built-in recording |
| OBS Studio | Yes | No | Yes | Yes | No (editing separate) | Streamers and educators |
| CleanShot X | No | No | Yes | No | Annotation tools | Tutorials and documentation |
| Capto | No | No | Yes | Yes | Yes | All-in-one recording and editing |
Looking at the table, a clear pattern shows up. Built-in tools like the Screenshot Toolbar and QuickTime are great for beginners who want something fast and free. OBS Studio stands out for streamers who need flexible, live-ready setups.
Meanwhile, CleanShot X and Capto target professionals and content creators who want polish without juggling multiple apps. If editing and annotation matter to you, these paid tools are worth the investment.
3. Tips for Better Screen Recordings on Mac
A good recording isn’t just about picking the right tool. A few small habits can make a big difference in quality.
- Close unnecessary applications before recording. This frees up memory and avoids random notifications popping into your video.
- Enable Do Not Disturb mode. This stops messages and alerts from interrupting your screen while you record.
- Choose an appropriate recording resolution. Higher resolution looks sharper, but it also creates larger files, so match it to where the video will be shared.
- Use a quality microphone. Clear audio often matters more than video quality when viewers are following along with your voice.
- Organize desktop files before recording. A tidy desktop looks more professional and avoids distracting clutter in the background.
4. Final Thoughts
Every Mac already comes with solid screen recording tools built right in. For quick, simple captures, the Screenshot Toolbar and QuickTime Player get the job done without any extra cost.
If you want more power, OBS Studio brings streaming-grade features for free, while CleanShot X and Capto offer polished editing for professionals and content creators.
The right choice depends on your workflow. For a deeper look at options built specifically for macOS, check out this guide to best screen recording software for mac.
FAQs
Can I screen record on Mac without installing software?
Yes. macOS includes the Screenshot Toolbar and QuickTime Player, both built in and ready to use without any downloads.
How do I screen record on Mac with audio?
Open the Screenshot Toolbar or QuickTime Player, select your microphone as the audio source, then start recording as usual.
Where are screen recordings saved on Mac?
By default, recordings save to the desktop. You can change this location in the Screenshot Toolbar’s options before you start.
How long can I screen record on a Mac?
There’s no strict time limit built into macOS. Recording length is mainly limited by your available storage space.
Which free screen recorder is best for Windows?
If you’re switching between platforms, Leawo Free Screen Recorder is a solid free option worth trying on Windows.
